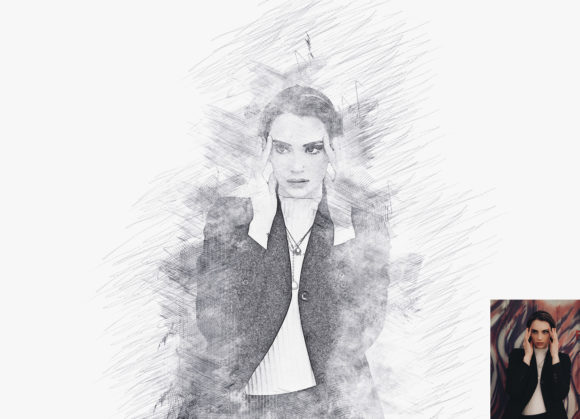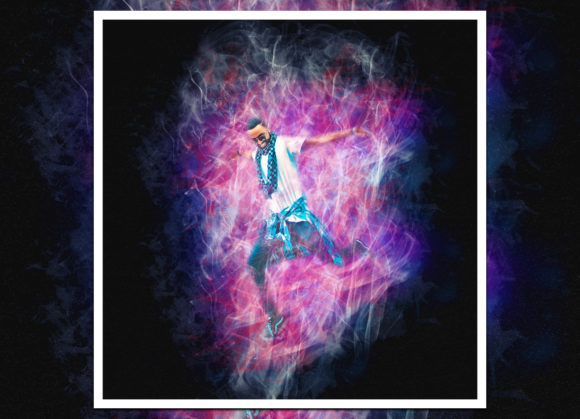
Transforming Ordinary Photos with the Color Smoke Effect Photoshop Action
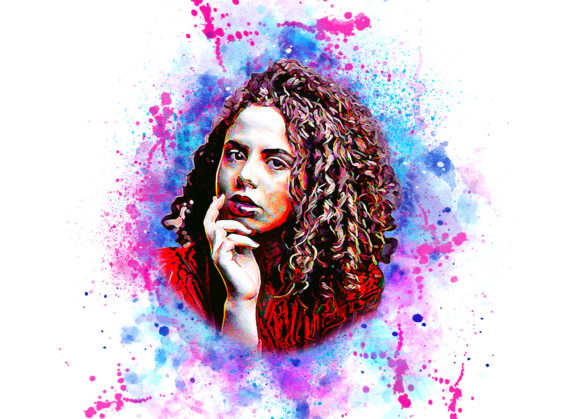
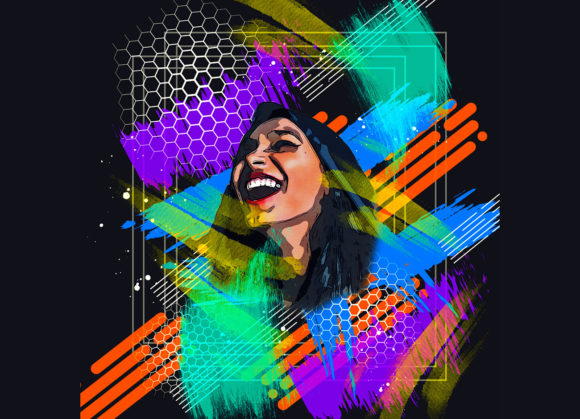
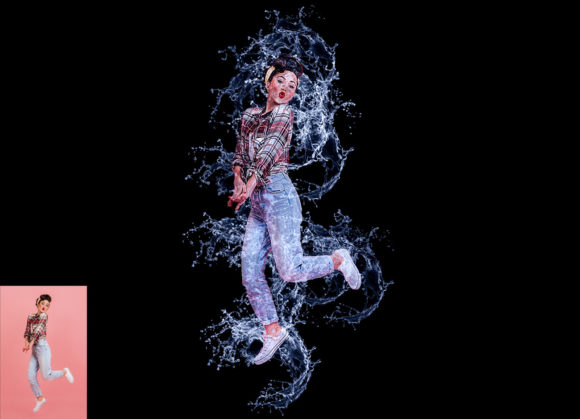
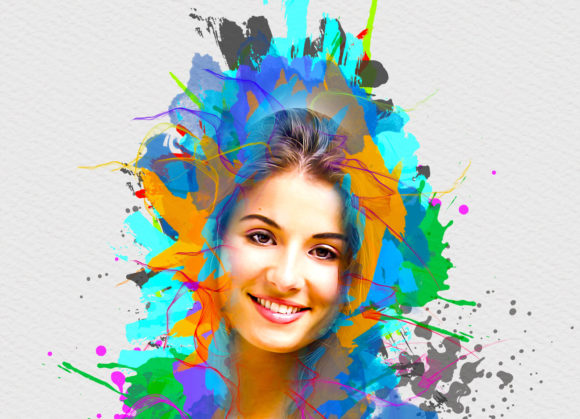
Digital photography has evolved far beyond simple documentation. Today, it is about storytelling, mood, and visual impact. One of the most striking ways to elevate a standard portrait or product shot is through the addition of atmospheric elements like smoke. However, capturing real colored smoke in a studio setting is expensive, messy, and technically difficult. This is where the Color Smoke Effect Photoshop Action becomes an invaluable tool for creatives. It allows you to bypass the logistical nightmares of physical props and instantly infuse your images with vibrant, swirling, ethereal aesthetics.
This digital solution is designed to transform your photos into a realistic color smoke look without requiring advanced manual editing skills. By leveraging a professional pack of automated scripts, you can turn ordinary snapshots into extraordinary visual statements. The core appeal lies in its non-destructive nature, meaning you retain full control over the original image while experimenting with dramatic effects.
Bridging the Gap Between Concept and Execution
For many photographers and graphic designers, the gap between having a creative idea and executing it is filled with technical hurdles. Real smoke requires ventilation systems, specific lighting gels, and high-speed shutter settings to freeze motion. Even then, the results are often unpredictable. The Color Smoke Effect Photoshop Action removes these barriers. It provides a consistent, customizable result that can be replicated across multiple images, ensuring brand consistency for commercial projects or a cohesive style for personal portfolios.
The workflow is streamlined for efficiency. Whether you are using Adobe Photoshop CS4, CS5, CS6, or any version from CC2014 through CC2020, this action integrates seamlessly into your existing toolkit. The compatibility across such a wide range of software versions ensures that freelancers working on older machines or agencies with standardized newer setups can both benefit from the same resource. It is particularly useful for those who need to deliver high-quality edits under tight deadlines, as it reduces hours of manual masking and blending into a matter of minutes.
Real-World Applications Across Industries
The versatility of this effect means it is not limited to a single genre of photography. Different industries leverage these visual enhancements to communicate specific messages.
- Fashion and Editorial Photography: In high-fashion spreads, smoke adds a layer of mystery and drama. It can soften harsh lines around models or create a dynamic background that contrasts with sharp clothing details. Designers use the Color Smoke Effect Photoshop Action to match the smoke color to the outfit, creating a harmonious color palette that draws the viewer’s eye directly to the subject.
- Product Advertising: For beverage companies, perfume brands, or tech gadgets, static product shots can feel lifeless. Adding swirling colored smoke behind a bottle or a smartphone suggests energy, freshness, or power. The ability to customize the intensity and color allows marketers to align the visual with their brand identity—cool blues for technology, warm reds for spicy food products, or soft pastels for beauty items.
- Music and Event Promotion: Concert posters and album covers thrive on high-energy visuals. Smoke effects convey movement and sound visually. Promoters use these actions to create gritty, urban, or dreamy atmospheres that resonate with the genre of music, helping to sell tickets and build hype before the event even begins.
- Social Media Content Creation: Influencers and content creators need to stand out in crowded feeds. A portrait with vibrant, swirling smoke is inherently more engaging than a standard headshot. It stops the scroll and encourages interaction, making it a powerful tool for personal branding.
Understanding the Workflow for Optimal Results
While the action automates much of the heavy lifting, achieving a professional finish requires understanding the preparation steps. The quality of the output is directly related to the quality of the input and the setup. Users often overlook the importance of canvas space. For the smoke to look natural, it needs room to breathe and expand. Simply placing a subject in the center of a tight crop will result in a cluttered, unrealistic effect.
To get the best outcome, start by expanding your canvas area. Select your background image and use the crop tool to extend all sides, giving the smoke ample space to swirl around the subject. Resizing your image to a high resolution, such as 3000x2000px or 2000x3000px at 300 DPI, ensures that the details remain crisp even when viewed on large screens or printed materials. This preparation step is crucial because low-resolution inputs can lead to pixelated smoke edges, breaking the illusion of realism.
The process involves a specific layering technique. You will need to create a new layer named “paint” in lowercase letters. This naming convention is essential for the action script to recognize where to apply the effects. On this layer, you use brushes to paint over the areas where you want the smoke to originate or interact with the subject. This step gives you artistic control, allowing you to dictate the flow and density of the effect rather than leaving it entirely to chance.
Customization and Creative Control
One of the strongest features of this tool is its interactive nature. When you play the action, it will pause with a stop message instructing you to set the foreground color to black (000000) and choose specific brushes. This pause is not an error; it is an invitation to customize. You are encouraged to brush mostly over the subject area, using different brushes to vary the texture. Some brushes may create wispy, thin trails, while others produce thick, billowing clouds.
This level of control ensures that no two images look exactly the same. You can tailor the effect to suit the mood of the photo. A subtle application might work for a romantic portrait, while a heavy, aggressive application could suit a sports advertisement. After making your brush selections, clicking the play button again completes the process. The action then generates the smoke layers, applies blending modes, and adjusts colors based on your initial painting.
Considerations Before Using the Action
While the Color Smoke Effect Photoshop Action is powerful, it is important to have realistic expectations. It works best on images with clear subjects and distinct backgrounds. Photos with busy, cluttered backgrounds may require additional masking to ensure the smoke interacts logically with the environment. Lighting also plays a role; if the original photo has flat lighting, the smoke may appear superimposed rather than integrated. Adjusting the brightness and contrast of the smoke layers post-action can help blend it more naturally.
Additionally, users should familiarize themselves with the included PDF help file. While the action is user-friendly, the guide offers nuanced tips for troubleshooting common issues, such as color mismatches or opacity problems. Understanding these nuances allows you to move beyond basic application and start using the tool as a sophisticated design element.
Ultimately, this action is more than just a filter; it is a creative catalyst. It empowers photographers, designers, and hobbyists to experiment with bold visual concepts without the need for expensive equipment or extensive manual editing time. By integrating this tool into your workflow, you open up new possibilities for expression, turning static moments into dynamic, colorful narratives.